Tuesday, November 16, 2010

3x6 Holiday block swap

One of the list of projects I mentioned in my last post was blocks for the 3x6 Sampler Quilt Mini Bee.

I will participate in the next quarter of this bee for the first time. In this bee you make six blocks, the the chosen colours of each of your hive members, with the colours being different and the block design being the same. Each quarter lasts for three months and there are four quarters a year (unsurprisingly) and you can drop in and out of the quarters as you workload allows.  

This year there is also a holiday block swap. Send off as many 12.5" blocks as your heart desires and get the same number back.

I had been wanting to try the Three in a Box quilt block designed by Julie Herman from Jaybird Quilts for a little while and thought this was the perfect opportunity.

So I pulled out some Christmas fabric and got cutting and sewing.

I have 16 blocks - the mixed amount I get back should be enough to make a Christmas quilt when I get them. Not really needed in Australia in December but pretty all the same!
Can you spy my mistake block, or as I like to call it, my humility block? I thought about undoing it and resewing it but in a Sampler Quilt I didn't think it was worth the risk tearing the fabric, it is just a different design.
This is my favourite block!
I can't wait to see what appears in the mail in a few weeks. I'm sure it will be great!

Sunday, November 14, 2010

Arc, Melons and Centres - The Double Wedding Ring quilt

It seems I have taken on a lot of things that all need to be finished about the end of November, the St Nicholas Swap, The Scrappy Mug Rug Swap, the 3x6 Bee Holiday block swap and my normal bees and well as this quilt and my Christmas sewing.

Please don't misunderstand, I'm not complaining. It is more of an explaination as to why I haven't got further with this quilt this week. Or on anything else. I seem to have a constant mess as I move from one project to the other without much to show for any of them.

Until today, for this project at least.

I have pieced some more arcs. Yesterday I bought the background colour, a light grey, which has meant I could start pieceing the arcs to the melons and then to the background centres.

I was a little nervous about this step, I'm often not patient enough to do a lot of unpicking so I was really pleased when the first melon segment turned out perfectly.

So pleased I forgot to take a picture.

An hour later, after reading and following the directions very carefully, I had this.
I'm so pleased, that even with all the joins most sections matched up like this.

Tuesday, November 9, 2010

A deep breath....and start - The Double Wedding Ring Quilt

I took a deep breath and took the fabric out of the box, with the plan and the templates.

 I had drawn this plan up per the instructions in the first flush of excitement a month or so ago. The finished quilt will be 4 rings x 5 rings,  generous lap size.  I added the reference scraps of fabric to keep track of the position numbers.
 I followed the instructions really carefully, took a deep breath and cut (and cut and cut - there is a lot of that in this quilt). And then I sewed, really carefully and much slower than normal. I came up with this.   
 A little more time and I had all these.
 Once I added the corner squares I had this.
Only 19 more to go.

Any suggestions on the background colour?

Monday, November 8, 2010

Scrappy Mug Rugs - A happy Sunday

A little while ago I joined the Scrappy Mug Rug Swap group on Flickr. And about 10 days ago I got my partner for the second swap round, my first.   

I have been spending the time since then playing around with some ideas.

Last weekend I made these...trying out some design ideas.

I made this one just for me....cause I never do that.

I really like the back too.
I think I have finalised the design for the Swap rug, and I know how I want to quilt it. Now I just need to choose the fabric and make it!  

My favourite room in the new house - The Sewing Room

I've kind of been waiting to write this post for a little while until the Sewing room was 'finished'. But the more I look around the room and play around with things the more I am realising it will be a constant work in progress. Given this, and that the boxes are unpacked  and most things have found a home so as to make it workably finished please indulge me and take a little tour around 'my room'.

Warning: This post is long, and indulgent. And possibly a little show-off-y. I'm sorry, I am just so excited about this room.

I have mentioned before how jealous I was of other people's sewing rooms. Mostly because I really wanted the storage spaces they afforded but also because I really, really hate mess and didn't like to leave things out on the dining room table but by the same token I hated having to drag everything out of the (not so accessible) cupboard every time I wanted to sew.

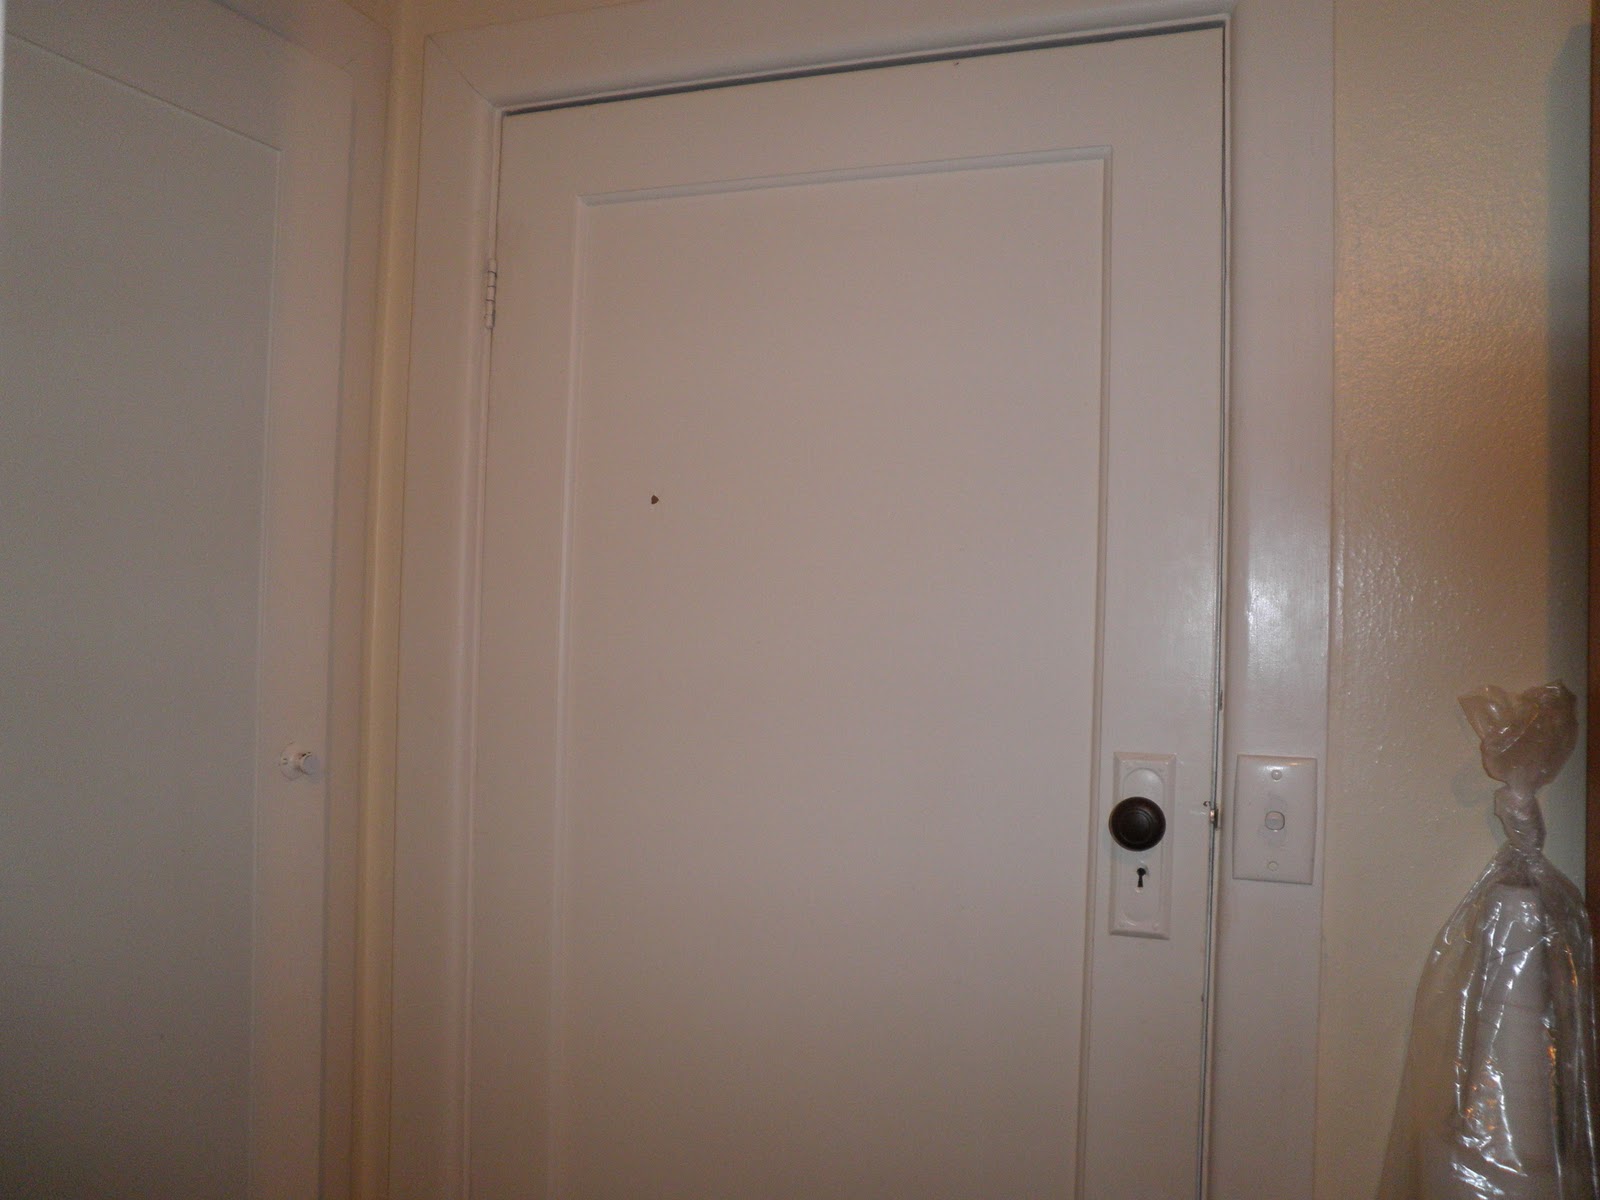
So my two favourite features of the new house are the door to the sewing room and the dishwasher (so I can stack all the dirty dishes in there and don't need to wash every night)

The room is the smallest bedroom in the house, and is a strange shape, which is part of the reasons that the room wasn't able to be used for the study and I was able to claim it for myself. It is long, about 3.5m and really narrow (1.8 plus the robe).  There is a window to the floor at one end but, as it is at the side of the house and looks out to the fence and the neighbours house it doens't afford much light, good thing there is lots of globes in the overhead light.

Before:
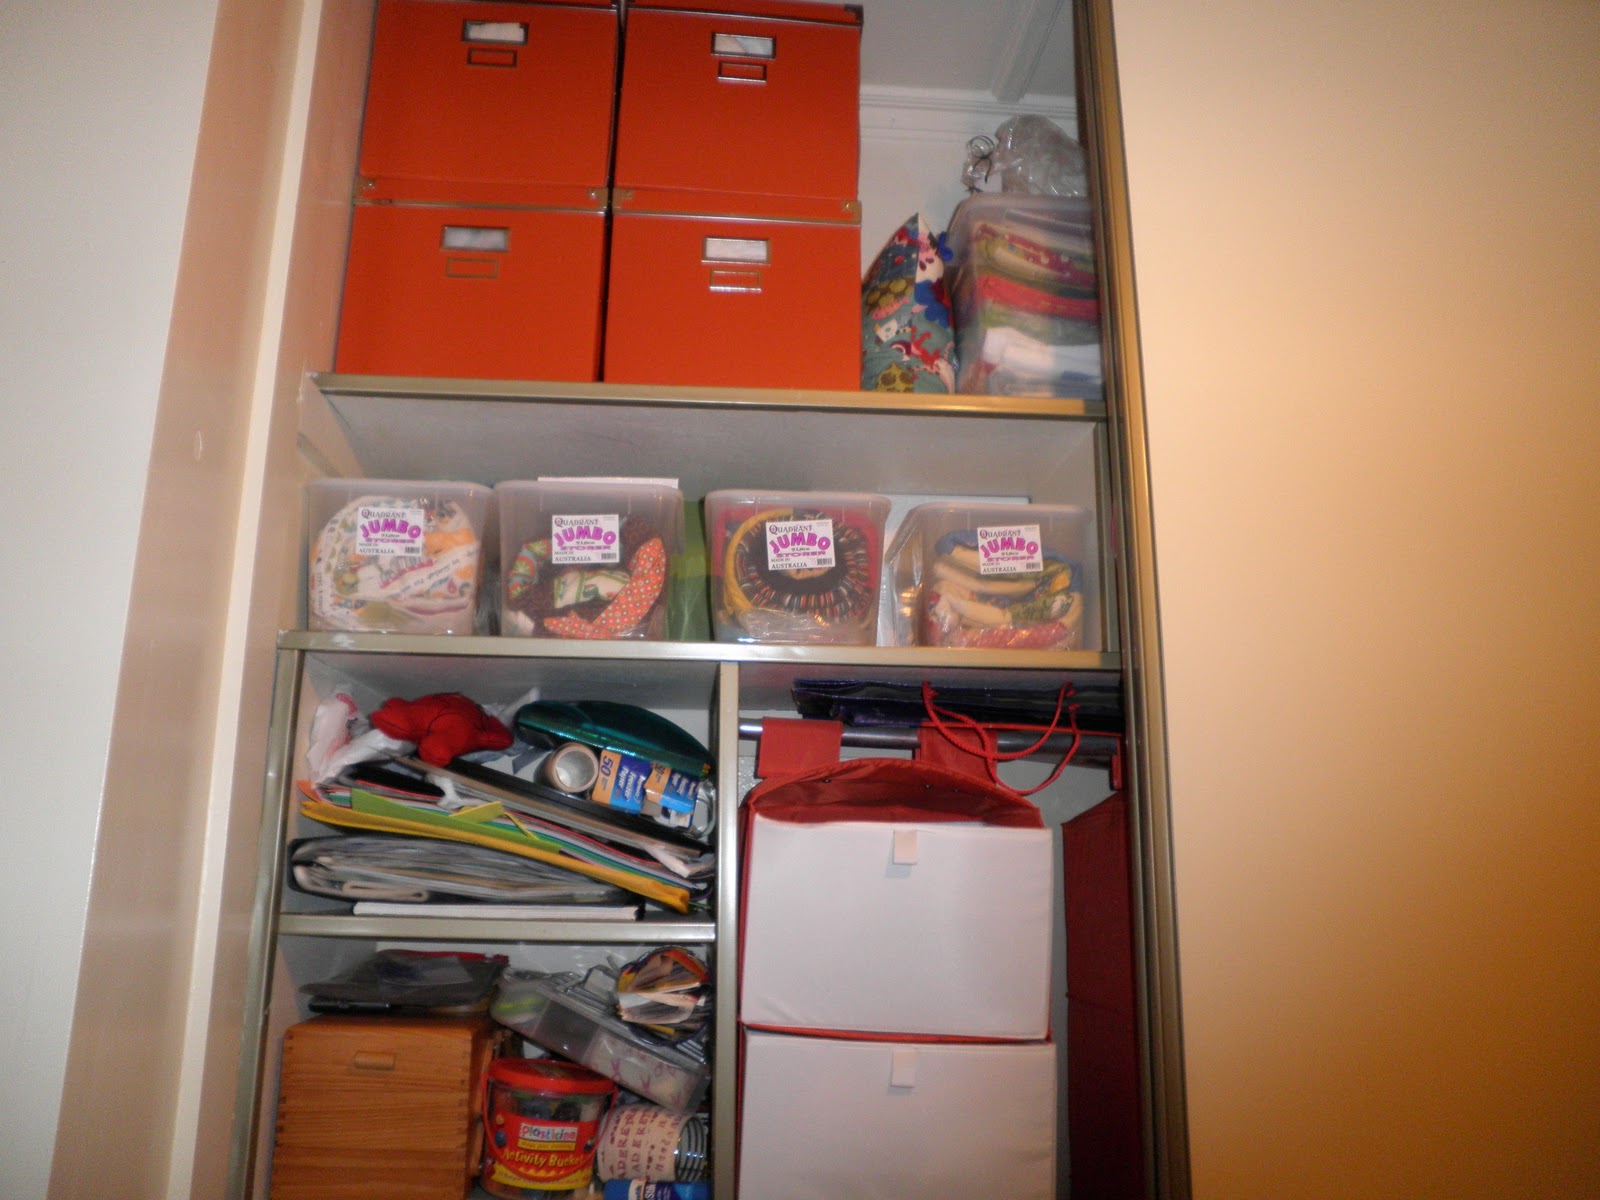
There is a built in robe in the room as well as another cupboard with shelves behind the door in the corner, but this has been claimed by my partner for his 'special' and 'crafty' things. The frustration I have had in devising storage solutions has been the height of the shelves in the robe, they don't quite fit any of the common sized storage boxes, I think as they have been there awhile.

The good points
1. Lots of powerpoints, so many in fact that I wasn't so worried about covering one up with the back of the bookcases. Unusual in a bedroom, and a house of this age.
2. The wooden floor. Not only does it look good but makes sweeping up the copious amounts of dust and loose thread ever present in a sewing space so much easier.
3. The really bright light, great for a sewing room although an unusual choice for what is meant to be a bedroom.

I have been really lucky to furnish and outfit the room with many of the things I already had, although I have gone a little crazy at IKEA sorting out some matching storage features.

I started with what I had. Lots of Billy bookcases and a table that had held my computer and printer, a Vika Amon/Vika Curry. I wasn't keen on using the table for a couple of reasons
1. I didn't want this room to be a study/sewing room and thought I would need it for the printer in the study area and
2. It wobbles a lot when the printer is pronting and I can only imagine what a walking foot at full speed would do it it.
I also had an office chair, on wheels. This would not do.

So I made a list of what I wanted.
1. Shelves, for books and cute little perfectly fitting storage boxes.  
2. A big table area - space for cutting, pressing and to have the machine set up permanently.
3. A chair
4. Lots and lots of modular storage so everthing was away but still easy to access.

While we were waiting for everything to be delivered I sent days planning and hours at IKEA planning. Because I already had the shelves I put these in the plan first and struck my first hurdle. I had two 60cm sets of shelves (no longer sold) and an 80cm shelf; both in beech, a colour that is no longer sold. I wanted them to sit in the corner so I needed a 40cm set with the corner attachment. I would need to have a different colour. This troubled me, I like things to match. In the end I chose the birch. It was the closest. I wish I had chosen the white, there is a longer term plan at play where the furniture the sewing room is all white. I decided on that too late.

But I built the extra, installed it in the corner while I waited for the truck and moved my attention to the tables.

The tables were the biggest (and most important purchase). As I said I have, until recently sewed at the dining table. Although it was a little small for what I wanted it was the right height and looked good. I thought about moving it to the sewing room but decided it was needed to eat dinner off.  What I wanted in a sewing room table was space enough for a semi-permananet cutting area and and spearate sweing table area with room to spread out a quilt while quilting it.

So I spent hours in second hand shops and IKEA looking at desks, dining tables and any other flat surface I clapped eyes on. I needed something sturdy that wouldn't shake, would fit in the area I had left  (2m along one wall and 180cm along the other), would fit together i.e.be the same height and not cost a fortune.

I had almost given up hope when I spied the Melltorp Dining Table out of the corner of my eye, so I got one in 175x75 and one 125x75 and got assembling and it fits, just.

So by the time the existing shelves and the rest of our things arrived the room was already taking shape.

When everything was arrnged the craft books went back in the shelf,
The sewing machine was put in pride of place under the window,

And I started unpacking all the little bits and pieces.

Books and boxes went back on the shelves.  Better Homes and Gardens and homemaker magazines on the bottom shelves.

Batting scraps, toy filler and interfacting went in the big orange Kassett boxes that just fit in between the top shelf and the ceiling in the cupboard.


I bought some extra CD and DVD storages boxes that fit perfectly in the Billy shelves and some magazine racks to store my sewing magazines. I worked on the philosophy, empty space? Does a box fit there? Good, put it there, I'll find something to store in it. With that thinking I got some of these paper boxes for the bottom shelf. They just squeeze in with some extra DVD boxes.

For the ackwardly dimensioned shelves I added to the existing Samla with some smaller ones to fill in the space.

I added a few fininishing touches with the table top ironing board, pen cups and a bin (see the black and white theme developing?) and a new iron. I keep a glass jar on the table to store all the cards from the online stores.

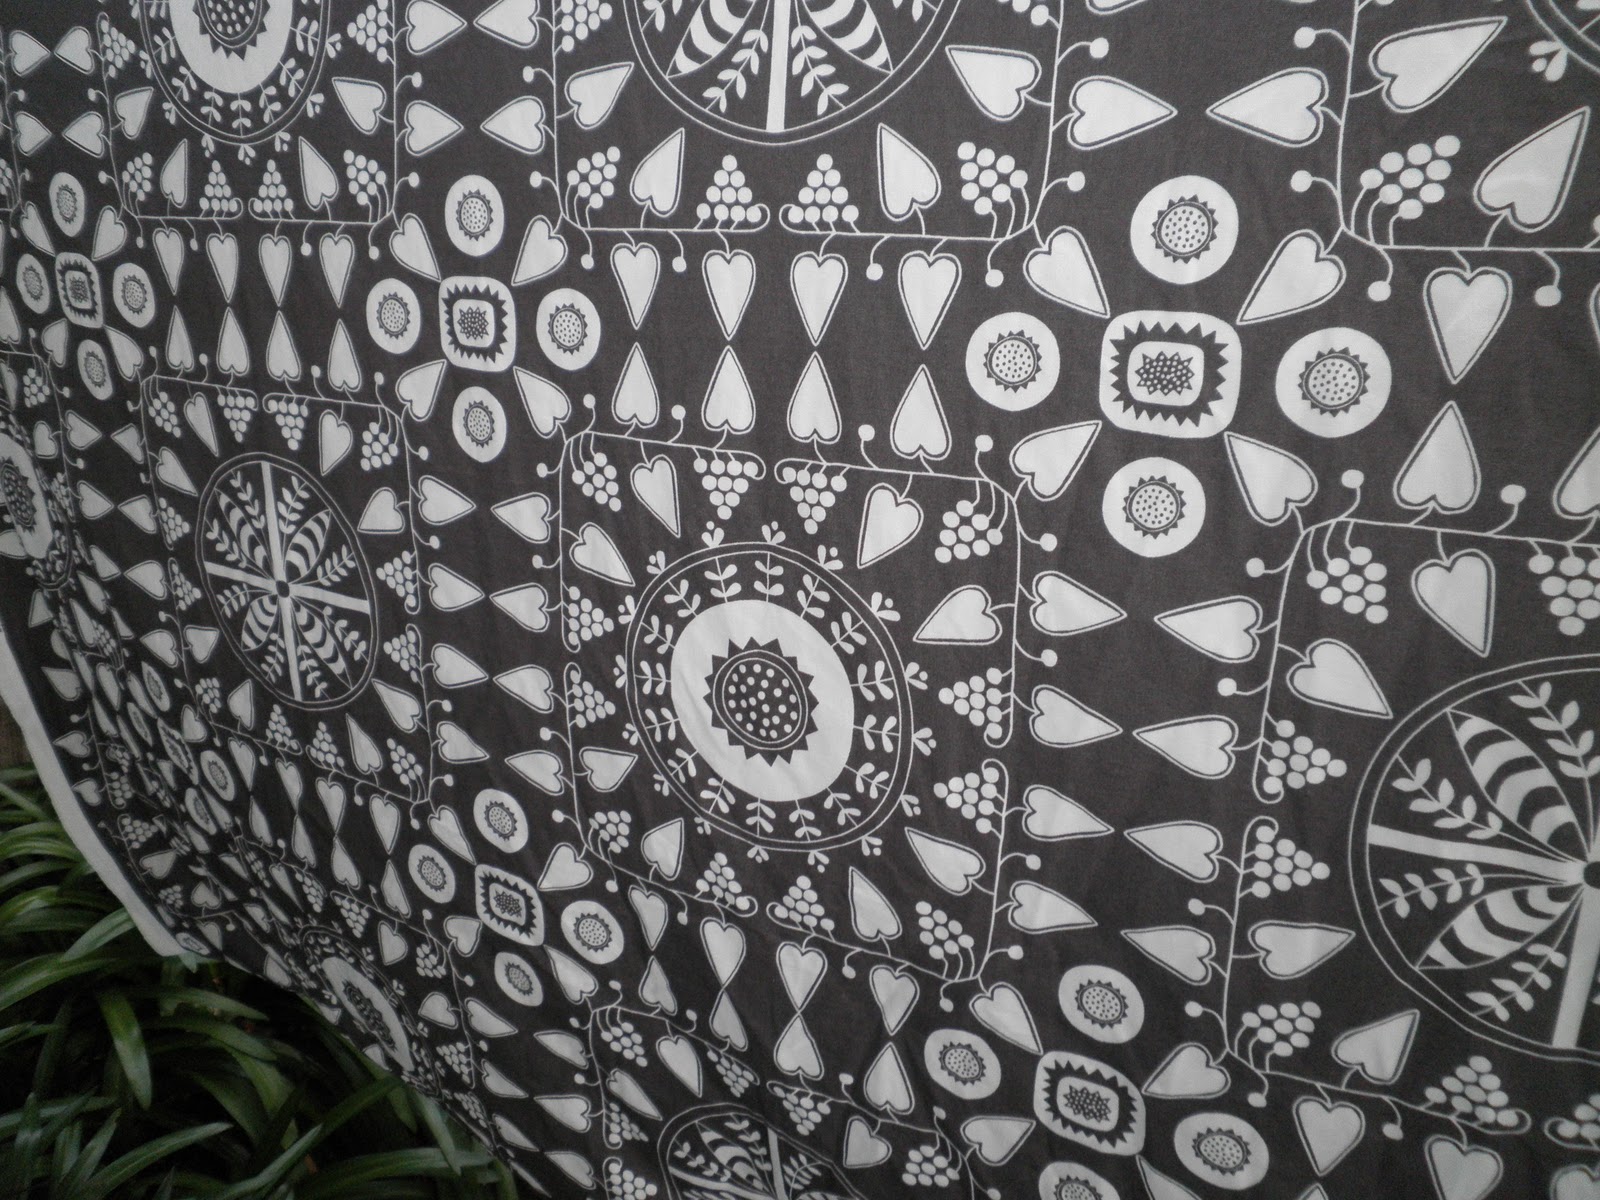
I also scored and picked up a great chair, and a little stool for under the cutting table in the As Is section. At the moment they have covers in the chepest price I could find on them. These will be used as a pattern to cover them in this.   

The fabric is still stored in the hanging tidy in the cupboard, the patterns in the boxes on the floor. Finished projects waiting for a new home in the tubs right up the top. 


Along the middle shelf are 8 tubs for projects on the go, I thought if all 8 were full that would be my cue to finish some before I started more. That has not worked.  :)

Thread, perle cotton and embroidery floss are in purpose built boxes on the top shelf of Billy.

I still have to paint the frames of the pin boards black and hang them above the table. I need to cover the chair and the stool and finish labelling all the boxes after I have sorted things into them. But I found out today I can watch TV over the network on the computer!

But for now it looks like this (when I keep it tidy)


and sometimes I just open the door and look, and smile. Feel free to be jealous or hate me. I'd completely understand.


Update:
Sewing Room Mosaic


I hung the pinboards above the tables and moved a few things around in the bookshelves. The biggest change through from when we moved in last year is that I have added some shelves into the built in cupboard. I was having increasing difficulty finding the fabric I wanted in the draws so I wound them around some fluteboard and stood them on the shelves like mini bolts. Much easier to find now. The bundles are sets put aside for specific projects and the tubs on the bottom shelves are scraps but these are being reorganized into a more user friendly format at the moment. 

Friday, November 5, 2010

Double Wedding Ring Progress (or procrastination)

Remember awhile ago I said I was going to make a Double Wedding Ring quilt for my brother and his fiancee to celebrate their wedding at the end of November this year?


Well it is the beginning and all the fabric is still in the project tub. So a few nights ago I took a deep breath, swallowed and took the tub down from the shelf.

I seriously doubt it is going to be finished in time for the wedding but I’d like to have the top done and be able to meet them at the airport in Melbourne during their stopover on their way back from their honeymoon with the completed quilt.


My first step has been to prepare to cut the fabric, and I actually did this ages ago. Although I have decided to cut the fabric and piece using the Matilda’s Own template I wanted to put some sample arcs together to see how I would positions each of the prints in the arcs.


And so as not to have to make heaps of arcs and waste a whole lot of fabric I printed a whole lot of copies of the Free Spirit paper piecing template in a smaller size and stuck the smaller squares on in various patterns.
I still can’t really decide. Here is a close up of each of the options.


These are the only two samples I made up without pink in it, which is a plus, but I'm not so keen on the amount of brown.

And I like this one with all spots, but I wanted it each arc piece and corner square to be different and this requires two prints to feature twice. And it might mean a few too many spots.

I think I may just have to take the plunge and decide and CUT. I have been working hard this week finishing some project I have on the go that have been taking up some space on my table so I can cut and start to piece some arcs this weekend. I would like to have enough done to take some to some LQS on the weekend and choose a solid colour for the centres and melons (I'm thinking a light grey or a beige).

Any opinions on the layout?

Wednesday, November 3, 2010

Bee Seam Piecing Downunder- November blocks for ... Me!

November is my month in Bee Seam Piecing Downunder. And I tell you, it's exciting.


I have known for a little while that I have wanted a 'circle' quilt and for it to have variety in the theme so I thought a bee would be the perfect way to achieve that, having 12 different  takes on it.


But some people are really scared or unconfident with curved seams so asking for these blocks was not an easy decision to make. And I can't say that it was a request met without trepidation but the wonderful ladies in my bee have really been gracious enough to say they will give it a go.


I sent out reasonably large pieces of 12 different fabrics


With two squares of Kona solid in a grey colour to act as the background of the block (the quilt will not have sashing so this offers the continuity)
I also sent some pre-made pieced circles - with different outer fabric that I have asked the ladies to embroider (or mark for me to embroider later) with the name and location. These will be pieced into the back as the label.


I made a mosaic (follow the links there are some just fantastic blocks out there)
http://www.flickr.com/photos/handmaderetro/5077052704/


and a few myself.


There are already some great blocks showing up on the Flickr page (link on the left of the blog) and I can't wait to see what else people come up with!


In case you were wondering (as my bee buddies where) what each of the fabric are there is a picture over on Flickr with all the fabric labelled. They all came from my LQS, Amitie in Bentleigh, Melbourne Australia. I made a mad dash there afrer work one day and the ladies were nice enough to stay open a little longer and help me put together the bundle of prints.