Showing posts with label Quilts. Show all posts

Wednesday, February 20, 2013

...a quilt for K

It is a strange thing. Over the Christmas/New Year 2011/12 break we had in Perth I blogged a lot. The most recent break - hardly at all. 

Which means that although I took (sometimes pretty ordinary pictures) of all of the gifts that I made they have't made it here. In the last few days I have been cleaning out my camera and temporary image folders and come across them again so I think there may be a few catch-up posts!

I have a group of friends that have been friends since high school. Since then we have remained friends through extended international trips, interstate moves, weddings, children - pretty much the events of life that can lead a friendship from teen years to fizzle. Because we are all origionally from pretty much the same place we all tend to end up back in Perth at the same time for big events, like Christmas with some additions since high-school of partners and children. 

In the last few years we have implemented a 'not-so-secret-Santa' gift swap over lunch in the week between Christmas and New Year. This year K was to be my gift recipient. She had mentioned earlier in the year that she might like a quilt for Christmas and I have a sneaking suspicion the Santa drawing was not so random this year. 

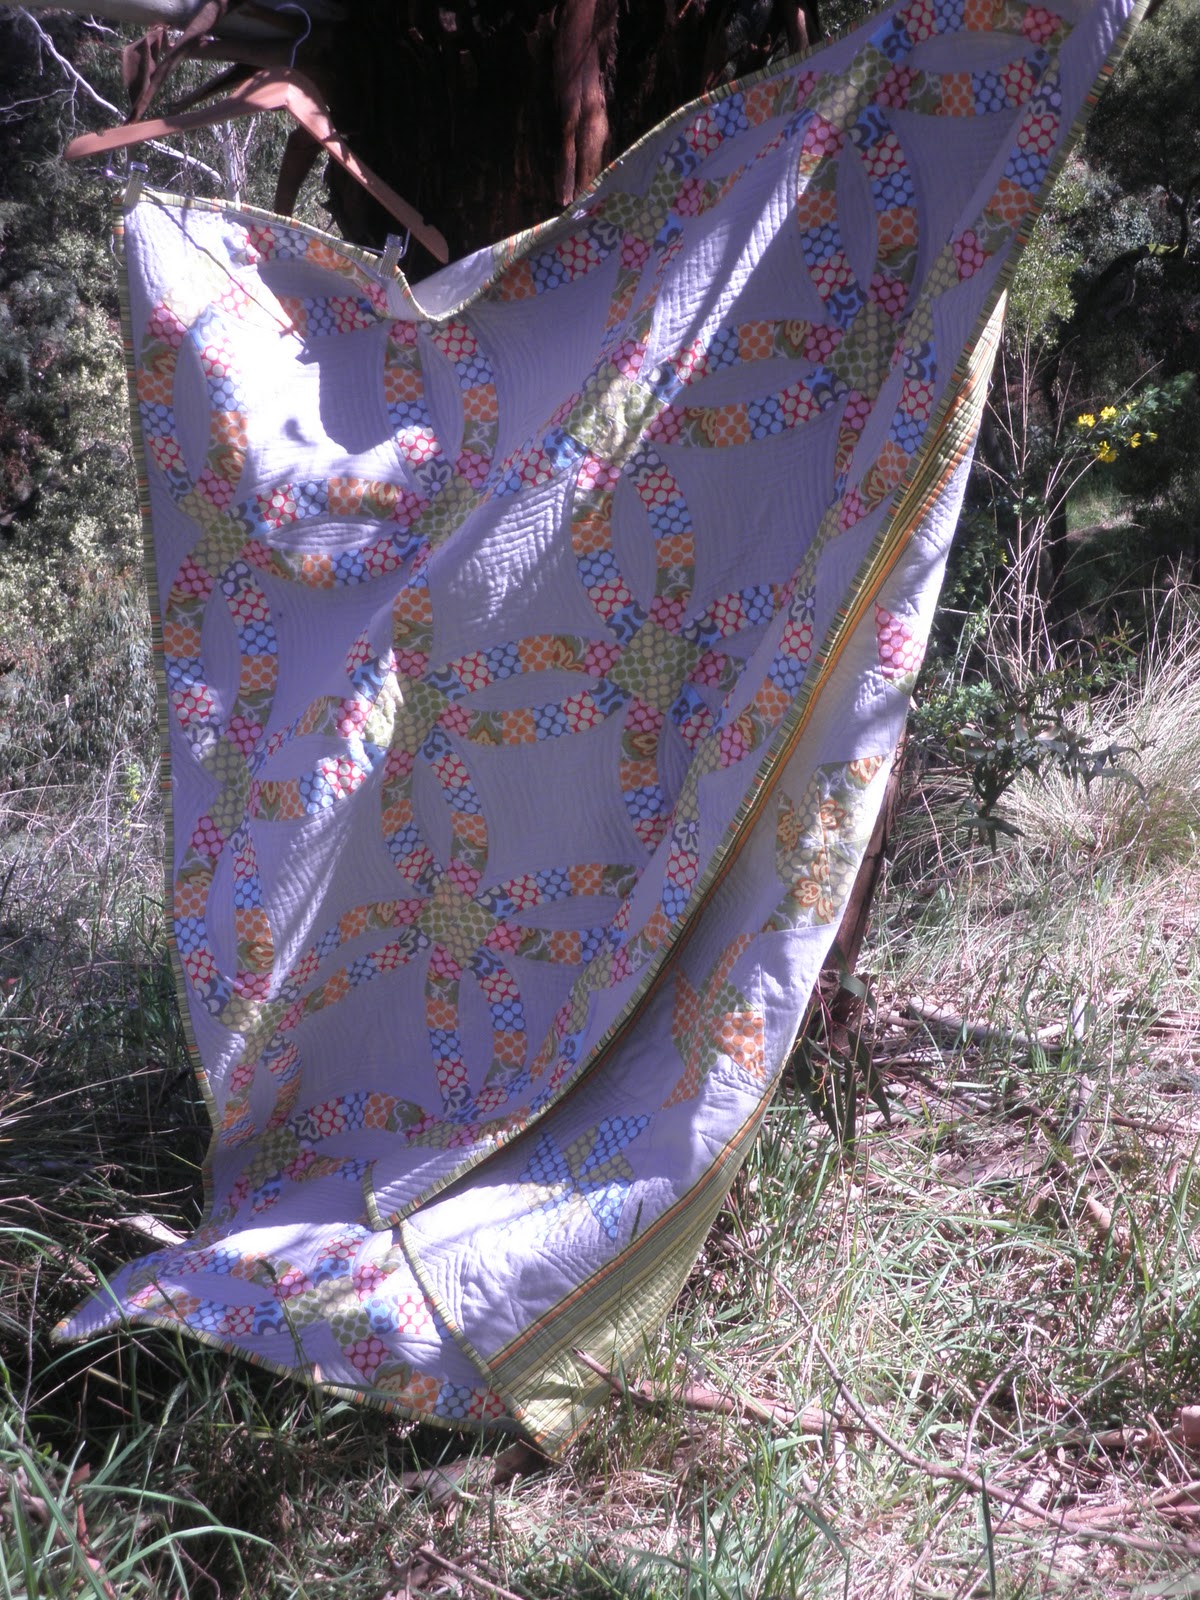
The inspiration for this quilt came from a shopping center floor - I was sitting having something to eat in IKEA and looking down at the floor below and snapped this image. 

After a couple of different design options were tossed about in my mind (all squares on point or 9 rectangle blocks?) I made a decision and went about choosing fabrics that were true-ish to the image and would match K's couch. 
Once the top was complete I quilted the 'tiles' into the background with cross hatch squares and hand quilted inside each of the 'pattern tiles' in perle thread.


Because it was a gift I thought is also needed a gift bag. This is from Melody Miller's Ruby Star Wrapping - with a few variations.
Because I used batting scraps rather than the fusible fleece in the pattern I quilted the outer and batting layers. On the top I used the spots as star centres and quilted the petals in.
On the base and the bottom of the sides I quilted squares around each of the circles.
Pressed into service immediately! Later discovered to be 'fully machine washable' and with proper pre-wash prep strawberry doesn't stain!
SMS Rec'd: Quilt down, Quilt down!


Wednesday, November 21, 2012

...another Hexy MF update


On Friday night I sewed the last (with the exception of a few for the borders) of the flowers. There are 70 there - seven in each of the fabrics.


For those that are mathematically minded interested (I am sure the minded can work it out for themselves) that is 490 basted 1.5" hexies and 8820" of hand sewn seam. 


I spent some time at the inaugural Sew Shells event laying them out on the floor and mixing them up until I was happy with the placement (there were a couple of changes after this picture was taken but it is the one I am working from)


The background is ordered (Robert Kaufman Quilter's Linen in Beige) along with some samples for the stems and leaves.


Better get to adding more columns to these to then!

Tuesday, May 22, 2012

Cog + Wheel - the Blogger's Quilt Festival Edition


I have mean't to link up with Amy's Blogger's Quilt Festival the last few times and kept missing the cut-off. This time round I am just sneeking in!

I stared making this quilt at the first Sit and Sew day I attended with the Melbourne Modern Quilt   Guild in April last year. I had lived in Melbourne only about 6 months at the time and it was great   to start making some friends in my new city who share my stitchy interests!

I made this quilt from my partner N - although he sort of knew it was coming I worked on it mainly at the Sit ans Sew days in an attempt to keep it a bit special. The fabric choices, Cogsmo by Cosmo Cricket from a few years ago, seemed to match the pattern, Cog + Wheel by Denyse Schmidt and N perfectly. 

Although had various opinions about the quilting during the piecing phase I decided to quilt the design as written in the pattern, but use my walking foot to stitch along the marker curved lines. Although I am generally happy with the result I'm coming more and more to realise there are limits to what I can achieve with my machine. 


As we head into winter here in Victoria it is folded up in the corner of the lounge and has been snuggled under on a few occasions. You can't as for more than that!

Wednesday, May 9, 2012

...quilting, quilting, quilting

It has come to that time of the year when getting pictures is difficult, it is dark when I leave for work in the morning and get home at night... and the weekends are often gloomy and rainy.

The upside? It is wonderful to sit on the couch in the evening under the quilt and wield the needle threaded with the perle cotton. 

I'm having a great time enjoying the the little frames fairytale friends. 

Monday, April 30, 2012

...planning stitching and crackers (do. Good Stitches March Cherish Quilt)

This post is about the quilt I have designed for the next month of the Cherish Circle in do. Good Stitches {a Charity Bee}


I make no claims the that following block design or colour choices are my own. I have taken ideas and inspiration from this design on the Moda Bakeshop by Mary from the Tulip Patch and this block by Angela from Cut to Pieces. A colour plan came from the Warm and Cool quilt along hosed by Jeni from In Color Order. I have chosen to revise the block tutorials highlighting the measurement of block components and colour placements for clarity and the ease of use by my bee mates. So here goes!


This month we will each be making one larger than average block that is constructed in four quarters (two warm and two cool in this design). 


To construct the whole block you will need


(4) 6" square of white (any will do but please avoid creams, light greys and beige
(2) 6" warm colour squares (or 4 triangles cut from 2 6" squares) 
Cross cut all of the squares into triangles

(2) 6" cool colour squares  (or 4 triangles cut from 6" squares)  
(4) 2 3/4" x 7 1/4" cool colour rectangles

(4) 2 3/4" x 7 1/4" warm colour rectangles 
(4) 2 3/4" x 7 1/4" rectangles of white (
any will do but please avoid creams, light greys and beige )
Note: As part of the Quilt Along Jeni had a great primer on Warm and Cool colours, worth a read here. Like her, I am looking for colours that are medium value but on the warm or cool spectrum. Sticking to the medium value should help the blocks to fit cohesively together. 

This would be the time to raid your scrap box to get a huge variety of fabric colours and prints. The hardest to include variety in will be the squares (to become the corner triangles) because of the way they are cut but if you have some off cuts from large HST this would be a great use for them. 


Constructions
1. Make the centre units 
Sew a warm (cool) strip to each side of the white strips. You will end up with four units, two warm and two cool. Press seams towards the coloured strips. 


2. Sew on the coloured triangles
- Find the centre of the centre white rectangle and the centre of the long side of the triangle. To do this fold the units in half and finger press the centre, be extra careful when doing the triangle so as not to warp the bias edge.

 - Match the crease marks and sew triangle to the centre square. Press the seams towards the coloured triangle on the warm blocks and the centre unit on the cool blocks. 
- You will end up with something that looks like this. 
- Repeat with the other three units. 

3. Sew on the white triangles
- Using the same method find the centres again. 
- Match the crease marks and sew on the white triangles. Press seams towards the triangle on the cool blocks and the centre unit on the warm blocks. 
- You will have one quarter unit completed!
- Repeat with the other three units. 

4. Trim your units
- The units have been deliberately oversized. They will be trimmed to 10" square. I find having a square ruler really helps me do this and this is how I have done it in the pictures but there is not reason is can't be done with a straight ruler. 
 - Place the ruler over the completed block, matching the mark 1/4" from the edge of the ruler with the spot where your centre unit and triangles meet. This will ensure you are left with a seam allowance that will not cut off your points when you join the units!

5. Sew your units together to make a block!
 - Lay your units our with the coloured triangles meeting in the middle and the units forming an 'X' of sorts. 
You will want the warm units on the top left and bottom right. 
 - Pin the units that form the top row together matching the points and sew. Press towards the 'Warm' block. 
 - Repeat with the bottom row, again pressing towards the warm block. 
 - Sew the two halves together nesting the centre seam and matching the triangle points. 

Your block will be about 19.5" square and finish in the quilt at 19"


Success! Thanks so much 'Cherish' Bees!

Sunday, February 26, 2012

...more scrappy stars

In fact I have finished basting all of the shapes and sewing all of the whole star units together. I do still have to go and re-raid the scrap boxes for the half stars but it has been just too hot and stuffy to do anything like that this weekend.
I have worked out the placement of them all - there is one leftover that will make its way onto the backing in some way when I get to that.
For now all these ones are sewn down - more than half. I'm surprising myself at still enjoying the process of this one. I thought the slow and steady nature of it would have done my head in by now.
Just love it - I'm glad I went with hexagon spacers rather than the diamonds - I love the way it makes each of the stars stand out.

Saturday, February 18, 2012

...Salty Air at the Bakeshop

I can't stop making Bakeshop quilts! 

I have this one up over there today. It comes together surpringly quickly considering the number of pieces that it looks like it has. 

And because we are talking about it being constructed from traignale rather than diamonds there are no y seams!.

Please pop on over and have a look!

Sunday, January 1, 2012

...have batting, batting - must quilt

In the not so distant past, but much nearer to the time a was beginning to make a lot of quilts I was in a quilt store and heard another of the customers mention that she and another quilting friend had a made a pact that they would only start new quilts at the beginning of the year and use the six months after July to finish everything they had started from January to June. At the time I naively couldn't see a reason for a pact like that. Why start so many things before you have finished some?

I have lost count of the number of quilts that I have started this year. Some of them are well and truly still towards the beginning of the piecing stage, for some I have almost completed the top and their are others, and not a small group, that are just waiting for the quilting and the binding.

I like to quilt my own quilts, either by machine or hand. And for the size of the quilts that I often choose to make that means moving a lot of furniture to get it basted and a lot of heavy lifting and turning to get it though my modest sized machine or many hours bent over the quilting frame.

All this, and the relative ease that cutting and beginning to piece a new quilt top, means that I seem to have ended up with quite a pile waiting to quilt.

So I am not saying that I will not start anything new before these are finished because that I just a recipe for failure but I will say that by April I will have quilted all these. It isn't the entire list of all the ones waiting to be quilted, just the ones I will quilt by machine. Summer in Australia is NOT a time for hand quilting a large project!

Wish me luck!

Cogsmo Cog + Wheel Quilt

Single Boy/Rings of Saturn

Same But Different Twin Quilts
 BSPDU Circle Quilt
 Six Minute Circle Sample Quilt

Sunday, November 13, 2011

...do. Good Stitches - the local connection


Last year sometime I joined do.good Stitches, it was/is another Flickr based bee but instead of participants requesting blocks to be made into a quilt for themselves the resulting quilts donated to various charities or to individuals who are going through difficult times.

Earlier this year I was given the opportunity to form part of an Australian based circle, I jumped at the chance, charity beginning at home and all that.

The second month with this new circle was my chance to design a quilt, or the second time. I had previously been given special dispensation to make this quilt for Claire after the floods in Queensland but prior to the beginning of the interbational circle all the quilters (and quilt donations) were made in the US.

I had been inspired by blocks published here, here, here and here on the Lark crafts blog and after gaining permission to trace and send the templates for various blocks I went out and bought the book, spent a lot more time than I expected would be necessary tracing them and then sent them off to my other bee mates.

I asked that all blocks be made in solids or nearly solids and that the animal blocks that finished at various sizes accoring to the templates, be sashed in primary or secondary colours to a 12.5" unfinished block.

The blocks were not 'easy', when I originally planned the quilt I thought they were paper pieced and I wasn't until I was fully committed to the theme I realised they were all cut from templates. I came to realise many of the bee mates were not so familiar with pieces of fabric that small cut with templates and embroidery or with the applique that about half the blocks included - but without fail everyone gave the challenge a try and the blocks all turned out wonderfully!! I appreciate their effort all the more with the little added challenge.

Sewing the top together was ver straight forward. The sizing borders on each of the block meant their was no need for sashing and I think the whole exercise only took about 20 minutes!

Backing was 2/3 Lizzy House Red Letter Day ducks that I found in the cupboard having bought for a steal at spotlight and a Spotlight Solid in yello mustard colour.

Quilting was 1/4 inch inside each of the frames and 14inch outside the animal blocks. This seems to have kept the whole thing stong enough without needing to sew all over everyone careful piecing.

It has been delivered to Needy Stitches and will soon been delivered to a little girl who is jest beginning her chemotherapy journey. Hopefully this will add a little brightness to a drab time.

Sunday, October 23, 2011

A-mazing quilt

Try as I might I couldn't think of a less self congratulatory title for this quilt so that is the name it has.

Directions for making it are up on the Moda BakeShop site today.

I almost didn't think this quilt would happen, the first lot of fabric has disappeared in the mail black hole, the replacement took ages to arrive as part of the recent mail delays and when it did arrived I had just got a promotion at work that ate up a lot of my mid-week quilting time for the first few weeks.

But it is done and I was really lucky to be able to take the pictures for the post at Hedgend Maze in Healsville. We got there early in the morning pon one of the lastr wintery weekends when the mist was still rising.

Some of the initial pictures were taken from the lookout (can you believe not every maze has one of these?) and this one is the result of me tossing the quilt onto the edge of the maze. Apparently I thought that the maze was not as far away as it was and it would artfully drape all by itself. Luckily there was a stick nearby to assist with the rescue.

So after the pictures were done we had a game of frisbee golf, mini, golf, a wanter through the maze and a puzzle through the coloured maze.

A pretty great morning, all done by 11:00am!

Sunday, September 25, 2011

The Double Wedding Ring Quilt - Done

It is finished - and I couldn't be more pleased with how it has turned out.

First a little explanation about the recipients which will make some of the details about the quilt make more sense. The quilt is for my brother, Justin and has wife since last November, Amy. And yes, I realise that makes this a very late wedding present. Amy's blog documenting the planning of their wedding was called Polka Dots and Sunshine, she wore a dress with small dots on the overdress fabric and the flowers at the wedding were yellow. Justin's favourite colour is green. They married in a garden in the foothills of Perth and marked the aisle with handmade pinwheels from scrapbooking paper.

The quilt measures 55" by 65" and is 4 rings by 5 rings making the quilt a lap size. It is the size I had planned from the beginning to be used on the couch or at the end of the bed but if I had several more months I might have gone for a bed size as the piecing is time consuming and, at time tedious, but once I got the hand of it it turned out not to be so hard.

I didn't use a 'pattern' as such but cut everything using templates from Matilda's Own, the set I bought coming with a handy book detiling fabric requirements for different quilt sizes as well as some very detailed and helpul piecing directions and the template designs to square off the edges. The holes in the templates to mark seam intersections was also VERY helpful.

So to the fabric choices and placement. The intersecting squares bringing the rings together were the two colours that represtented Justin and Amy, the green and the yellow. The other prints in the rings included a number of spots as a nod to the wedding's 'shape' theme as well as some other prints to balance these out.

The backing fabric was chosen as a contrast to the front, stripes and spots but the print could have been a little overwhealing without being split. The double pinwheel blocks down the centre is reminicinet of the aisle at their wedding ceremony which was marked by homemade pinwheels made using scrapbook paper.

I echo quilted the rings on my machine. I love the way it looks but it took a lot longer than I thought and really took a lot out of my neck and shoulders. I enjoy quilting all my own quilts but the basic domestic machines certainly have their limits.

Of course it is labelled on the back - the quote is one that came to Amy when planning ceremony readings for the wedding but didn't feel is appropriate to include in the ceremony itself. And of course their names and the wedding date. On the way home with them tomorrow.

Other Posts about this quilt

Quilting Underway....finally